
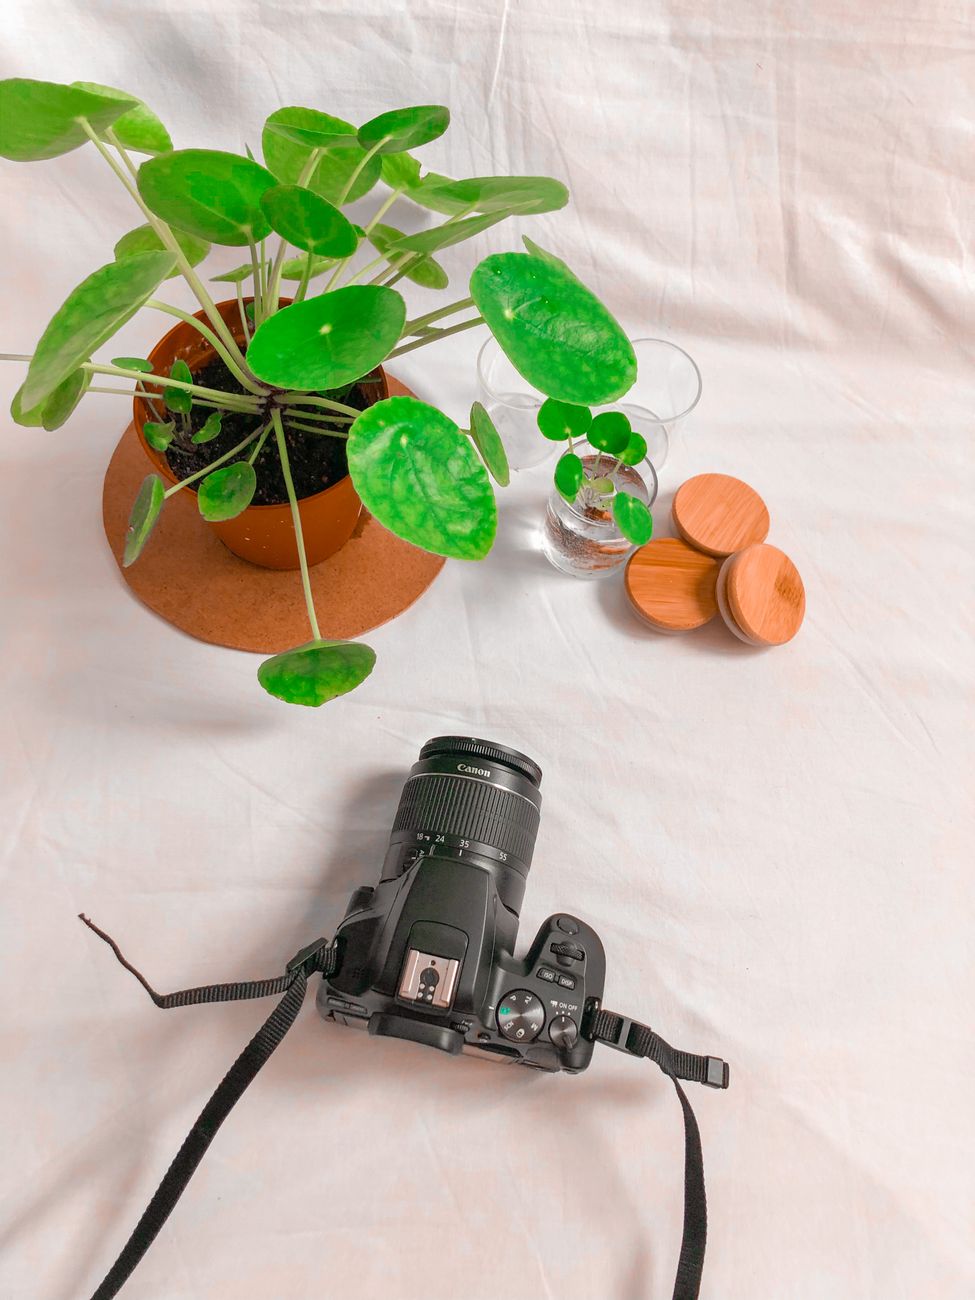
How To Take Better Photos For Beginners
You want to take photos that look more than just snapshots, right? It’s not as complicated as it might seem. Getting better at photography is really about paying attention to a few key things: how you arrange your shot, how you use light, understanding what your camera can do, picking interesting things to photograph, and giving your pictures a little polish afterward. Let’s break it down.
So, what makes a photo visually appealing? It's often down to how you arrange the elements within your frame. Think of your camera’s viewfinder or screen as a little box, and you’re deciding where everything in that box goes.

The Rule of Thirds: Not a Strict Law, Just a Helpful Guideline
This is probably the most talked-about compositional tip, and for good reason. Imagine dividing your frame into nine equal squares, like a tic-tac-toe board. The idea is to place your main subject, or key elements of your photo, along these lines or at their intersections. Instead of putting your subject dead center, which can sometimes feel a bit static, shifting it off to the side can create more visual interest and lead the viewer’s eye through the image.
For example, if you’re shooting a landscape with a horizon line, try placing it on the bottom or top horizontal line, rather than smack in the middle. This gives more space to the sky or the land, depending on what’s more compelling. Similarly, with a portrait, placing the subject’s eyes on one of the upper intersection points often results in a more engaging portrait.
Leading Lines: Guiding the Viewer’s Eye
Think about elements in your scene that naturally draw the viewer’s eye towards your subject. These could be roads, paths, fences, rivers, or even patterns of light and shadow. By positioning yourself so these lines lead into your main point of interest, you create a sense of depth and direction in your photograph. It's like giving your viewer a little path to follow into the story of your image.
Imagine a winding road leading to a distant mountain. If you frame the shot so the road starts in the foreground and curves its way towards the mountain, your viewer’s gaze will naturally be pulled along that path. This technique adds a lot of dynamism to what might otherwise be a flat image.
Symmetry and Patterns: When Balance is Key
While the rule of thirds suggests off-center placement, sometimes symmetry and repetition can be incredibly powerful. Think about reflections in water, architectural details, or repeating natural forms like leaves on a branch. When you find these symmetrical or patterned elements, try composing your shot to emphasize them.
A perfectly centered shot of a reflection can be stunning. Likewise, capturing a repeating pattern, like a row of windows or a group of trees, can create a mesmerising visual rhythm. Don't be afraid to experiment with centering your subject when you are using symmetry or a strong pattern as your main compositional element.
Negative Space: The Power of What's NOT There
Don't underestimate the importance of empty space in your photos. Negative space is the area around your subject, and it can help your subject stand out and give your image a sense of breathing room. Too much clutter can overwhelm your viewer.
If you’re photographing a single bird on a branch, for instance, you might choose to have a lot of clear sky or blurred background around it. This isolation emphasizes the bird, making it the undeniable hero of the photo. It’s about composing with intention, not just filling the frame.
Light is your most important tool as a photographer. Understanding how to use it, and even when to avoid it, can dramatically improve your photos.
The Golden Hour: Nature's Soft, Warm Glow
You've probably heard of the "golden hour." This refers to the period shortly after sunrise and before sunset when the sun is low in the sky. The light during this time is incredibly soft, warm, and diffused. It casts long shadows and gives everything a beautiful, flattering glow.
If you plan your shoots around these times, you’ll find that even ordinary subjects can look extraordinary. Portraits taken during the golden hour are often very pleasing, with soft skin tones and a dreamy atmosphere. Landscapes can take on a magical quality.
Dealing with Harsh Midday Sun: Avoid or Adapt
Midday sun can be your enemy. It’s often very bright, direct, and creates harsh shadows and blown-out highlights. If you absolutely have to shoot in direct midday sun, there are a few things you can do.
One option is to use a diffuser, which is essentially a screen that softens the light. Another is to position your subject in the shade, creating a more even and controlled light. If you can’t find shade or use a diffuser, try to position yourself so the harsh light isn’t directly hitting your subject’s face, or use it creatively to create strong silhouettes.
understanding Direction of Light: Front, Side, and Back
The direction from which light hits your subject has a huge impact on the mood and dimension of your photo.
- Front Light: When the light source is directly in front of your subject, it illuminates them evenly. This is often good for portraits as it avoids harsh shadows on the face, but it can sometimes make the image look a bit flat because there's less contrast.
- Side Light: Light coming from the side can create dramatic shadows and highlights, adding texture and depth to your subject. This is fantastic for revealing the form of objects and can add a lot of mood to portraits.
- Backlight: When the light source is behind your subject, you can create silhouettes or interesting rim lighting. If you expose for the subject, you'll get a silhouette. If you expose for the background and let some light spill onto your subject from behind, you can create a beautiful halo effect around their edges, which can be very dramatic.
Using Window Light Indoors: A Natural Studio
Don't underestimate the power of natural light coming through a window. It's a fantastic, free light source for indoor photography. Position your subject near a window, and you can control the direction and quality of light by how close they are and whether the window is directly in front, to the side, or even slightly behind them.
If the window light is too strong, you can diffuse it by closing the blinds partly or hanging a sheer curtain. This mimics the soft light of the golden hour indoors.
You don't need to be a tech wizard, but understanding a few fundamental camera settings will open up a world of creative possibilities beyond just pointing and shooting.
The Exposure Triangle: Aperture, Shutter Speed, and ISO
These three settings work together to control how bright – or dark – your photo is, and they also influence the look of your image in different ways.
- Aperture (f-stop): This controls how much light enters your camera through the lens and also dictates the depth of field. A wider aperture (smaller f-number, like f/1.8) lets in more light and creates a shallow depth of field, meaning your subject is sharp while the background is blurred. A narrower aperture (larger f-number, like f/16) lets in less light and creates a larger depth of field, keeping more of the scene sharp.
- Shutter Speed: This is the duration that your camera's shutter stays open, allowing light to hit the sensor. A faster shutter speed (e.g., 1/1000 sec) freezes motion and lets in less light. A slower shutter speed (e.g., 1 sec) allows more light in but will blur any moving objects. It can also be used to intentionally blur water or create light trails.
- ISO: This measures your camera sensor's sensitivity to light. A low ISO (e.g., 100) means less sensitivity and produces cleaner images with less "noise" (graininess). A high ISO (e.g., 3200) makes your sensor more sensitive to light, which is useful in dark conditions, but it also introduces digital noise.
Understanding Your Camera Modes: Beyond Auto
While "Auto" mode is a lifesaver when you're starting, many cameras offer modes that give you more creative control without being overly complex.
- Aperture Priority (A or Av): In this mode, you set the aperture, and the camera automatically chooses the shutter speed to get a proper exposure. This is brilliant for controlling depth of field, so you can decide if you want a blurry background or everything sharp.
- Shutter Priority (S or Tv): Here, you choose your shutter speed, and the camera selects the aperture. This is ideal when you want to control motion – freezing a fast-moving subject or blurring streaks of light.
- Manual Mode (M): This is where you have complete control over aperture and shutter speed, and ISO. It takes practice, but it gives you the ultimate creative freedom to achieve exactly the look you want.
Focusing: Making Sure Your Subject is Sharp
It sounds obvious, but precise focus is crucial. Most cameras have different autofocus (AF) modes.
- Single-Point AF: You select a specific focus point on your screen, and the camera locks focus onto that point. This is great for stationary subjects.
- Continuous AF (AI Servo or AF-C): This mode keeps the focus continuously adjusted on a moving subject. It’s essential for sports or wildlife photography.
Make sure your main subject is in sharp focus. If you're using a shallow depth of field, it's especially important to ensure the most critical part of your subject (often the eyes in a portrait) is perfectly sharp.
The best photos often come from subjects that genuinely interest you. Don't feel pressured to photograph what everyone else is shooting.
Look for the Unexpected in the Ordinary
Sometimes the most compelling subjects are right under our noses. Look at everyday objects, scenes, or people from a different perspective. What textures can you highlight? What stories can you tell with a simple arrangement? A worn-out chair, a patch of sunlight on a wall, or the way light falls on a fruit bowl can all make for interesting photos if you look closely.
Consider the details. Instead of a wide shot of a park, focus on the dew drops on a spiderweb or the intricate pattern of bark on a tree.
Capturing Moments and Emotions
People are often drawn to photos that convey emotion or tell a story. This doesn’t mean you need staged drama; it can be a genuine smile, a look of concentration, or a candid interaction between people.
When photographing people, be respectful. Ask permission if you’re close up or if the situation feels private. Often, the best moments happen when people forget they’re being photographed. Patience is key here.
Experiment with Different Genres: Landscapes, Portraits, Still Life, and More
Don’t limit yourself. Try your hand at different types of photography.
- Landscapes: Look for interesting light and compositions. Don’t just shoot the obvious. Look for foreground interest or unique formations.
- Portraits: Focus on connecting with your subject and capturing their personality. Lighting is critical here, as we’ve discussed.
- Still Life: This is a great way to practice composition and lighting with inanimate objects. Arrange items in a way that tells a story or emphasizes their form and texture.
- Street Photography: This is about observing and capturing candid moments in public spaces. Be discreet and respectful.
The more you experiment, the more you'll discover what subjects and styles you're drawn to and what you enjoy shooting the most.
Editing isn’t about faking it; it’s about bringing out the best in the photo you’ve already taken. Think of it as enhancing, not altering, for the most part.
Basic Adjustments: Exposure, Contrast, and White Balance
Even a few simple tweaks can make a big difference.
- Exposure: If your photo is too dark or too bright, you can adjust the overall brightness.
- Contrast: This controls the difference between the darkest and lightest parts of your image. Increasing contrast can make a photo look more punchy and dramatic, while decreasing it can soften the image.
- White Balance: This corrects the color cast in your photo. If your photo looks too blue or too yellow, adjusting the white balance will bring the colors back to where they should be, making whites look truly white.
Cropping and Straightening: Refining Your Composition
Editing is where you can make those last-minute compositional adjustments.
- Cropping: You can crop a photo to remove distracting elements or to improve the composition, perhaps by applying the rule of thirds more effectively after you’ve seen the initial shot.
- Straightening: If your horizon line is crooked, or if you have strong vertical lines that aren’t quite straight, you can easily correct this in editing software. A level horizon can make a significant difference to a landscape photo.
Color Enhancements: Saturation and Vibrance
These two controls affect the intensity of colors in your image.
- Saturation: Affects all colors equally. Pushing saturation too high can make colors look unnatural and garish.
- Vibrance: This is a bit smarter. It increases the intensity of muted colors more than already saturated colors, making it a safer way to boost color without making the photo look overdone. Use these sparingly to enhance the mood of your photo.
Finding the Right Software and Workflow
There are many editing tools available, from free apps on your phone to professional desktop software. Start with something simple, like the editing tools built into your phone’s photo gallery or free options like Snapseed or GIMP. As you get more comfortable, you might explore more advanced programs like Adobe Lightroom or Photoshop. The key is to develop a workflow that makes sense to you and helps you achieve your desired look efficiently. Don't feel the need to over-edit; often, less is more.
FAQs
Composition and Framing:
1. What is the rule of thirds and how can it improve composition in photography? 2. How can framing be used to enhance the visual impact of a photograph?
Lighting and Exposure:
3. What is the difference between natural and artificial lighting in photography? 4. How can exposure settings affect the overall quality of a photograph?
Understanding Your Camera Settings:
5. What are the basic camera settings that beginners should familiarize themselves with for better photography?